Quick Start
This walkthrough creates a small test schedule, saves a backup, and downloads an optimized workbook. It was validated with the frontend and backend running locally.
Protect scheduling data
Use test names until your organization approves this system. The hosted app stores the schedule in your browser and sends it to the selected optimization server. It also uses Google Analytics and Sentry for analytics, replay, and error reporting. Error reports may attach partly anonymized scheduling YAML. Anonymize schedule data does not remove every potentially sensitive field. Read the full privacy policy.
1. Start a schedule
- Open the Nurse Scheduling app.
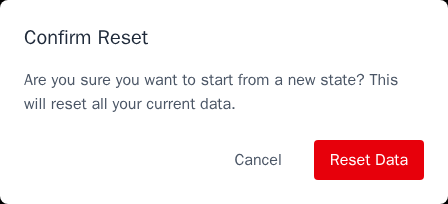
- Select New Schedule, then Reset Data.
- Select Continue.
Resetting replaces the current browser data with starter people and shift types. Download a YAML backup first when replacing useful work.
2. Choose the dates
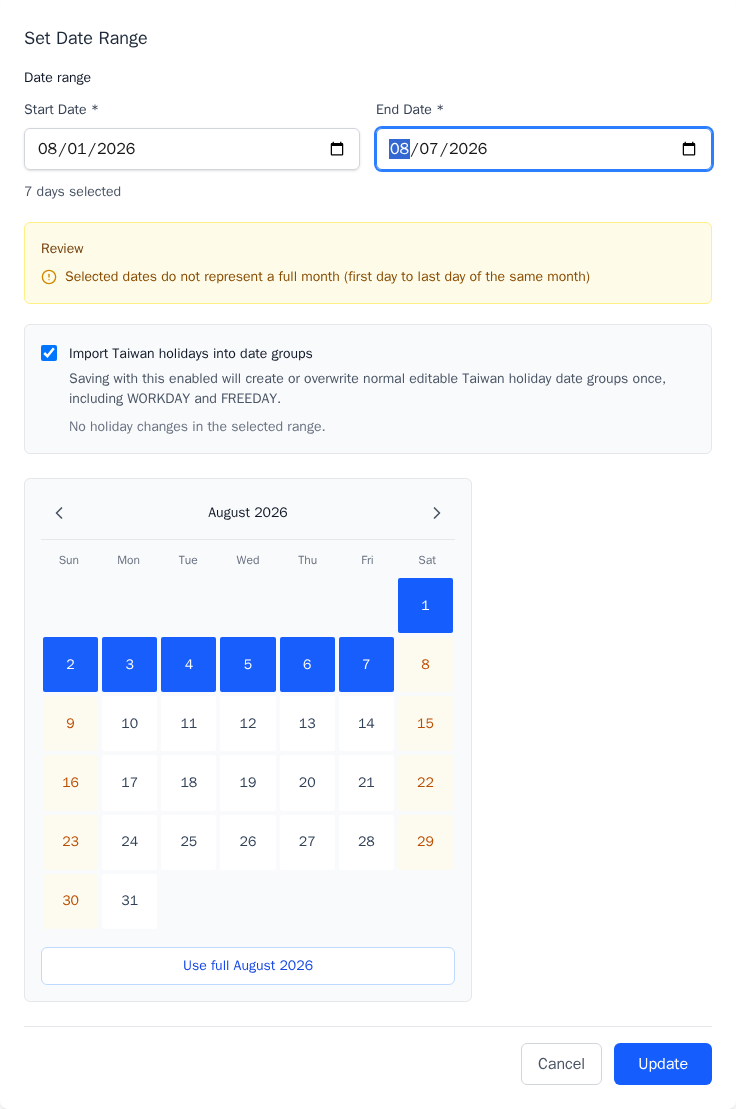
- On Dates, select Set Date Range.
- Enter the first and last scheduling dates.
- Keep Import Taiwan holidays into date groups enabled only when those groups match your workplace calendar.
- Select Update.
The app creates one date item per day and common groups such as ALL,
WEEKDAY, and WEEKEND.
3. Check people and keep one shift
- On People, leave the starter people unchanged for this test.
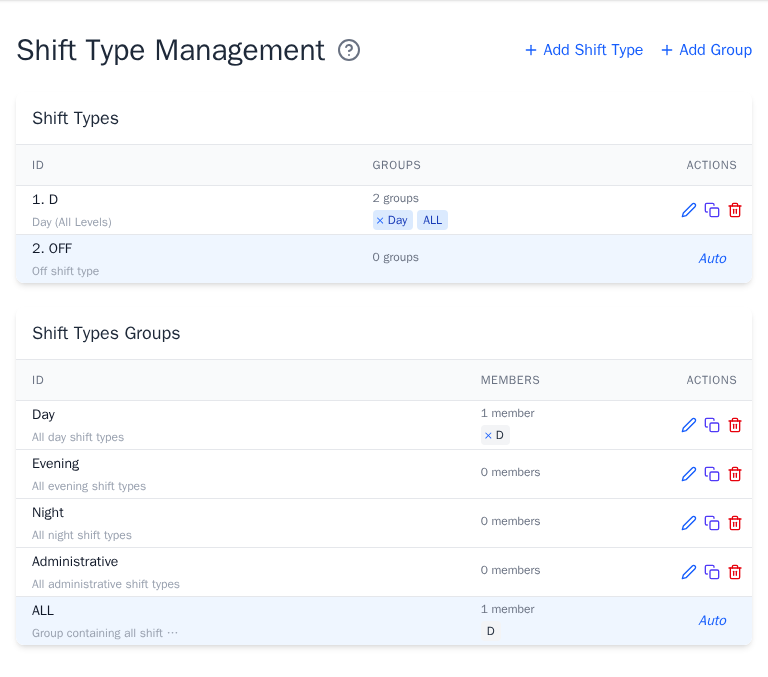
- On Shift Types, delete every working shift except
D. - For a real schedule, manage people and qualification groups on the
People page. Keep workplace shifts and create groups such as
DayorNightwhen several shifts share rules.
The ALL groups and OFF shift type are maintained automatically.
4. Add minimum staffing
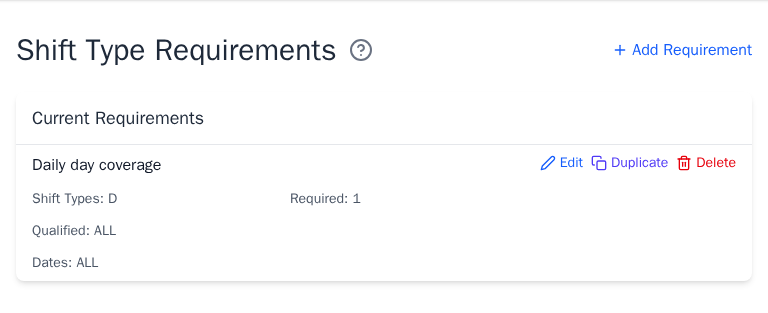
- On Shift Type Requirements, select Add Requirement.
- Select one shift type or shift-type group.
- Enter Required Number of People.
- Select the qualified people or a people group.
- Select the dates or a date group.
- Select Add.
For this test, choose shift D, required 1, qualified ALL, and dates ALL.
For a real schedule, define every staffed shift and date. The coverage warning
lists missing pairs that the solver may otherwise fill arbitrarily.
5. Add a request
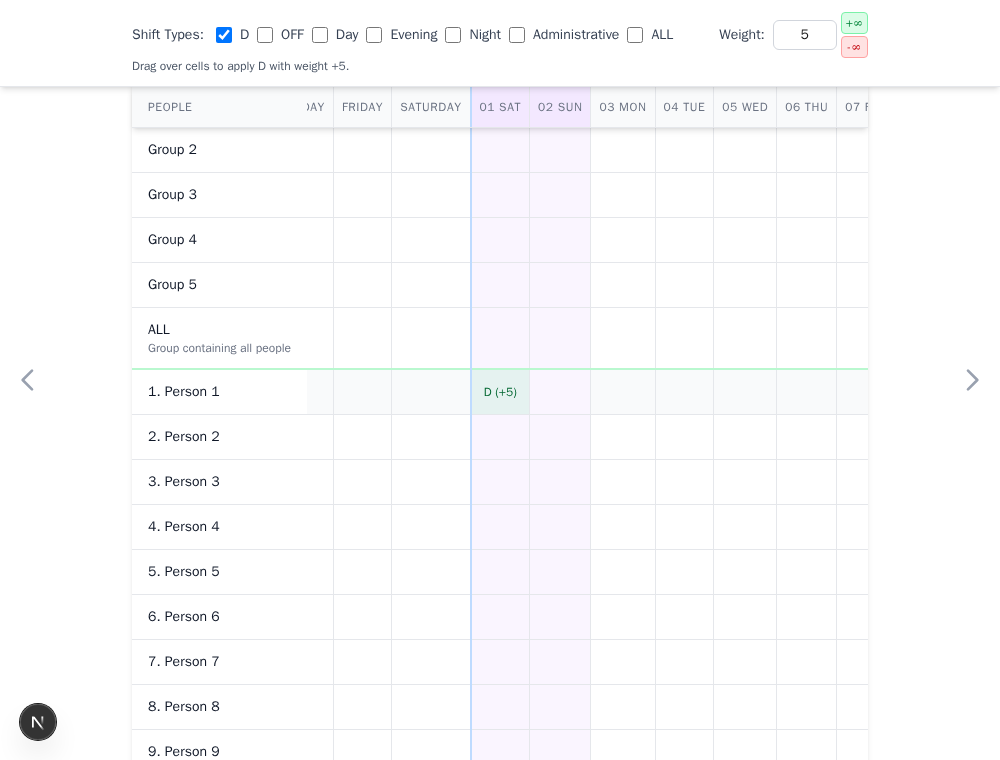
- On Shift Requests, select Quick Add Preference.
- Choose shift
Dand enter weight5. - Select a person and date cell. Drag across cells to apply the same request to several dates.
Positive weights prefer the selected shift. Negative weights avoid it. Larger absolute values have higher priority.
6. Save a backup
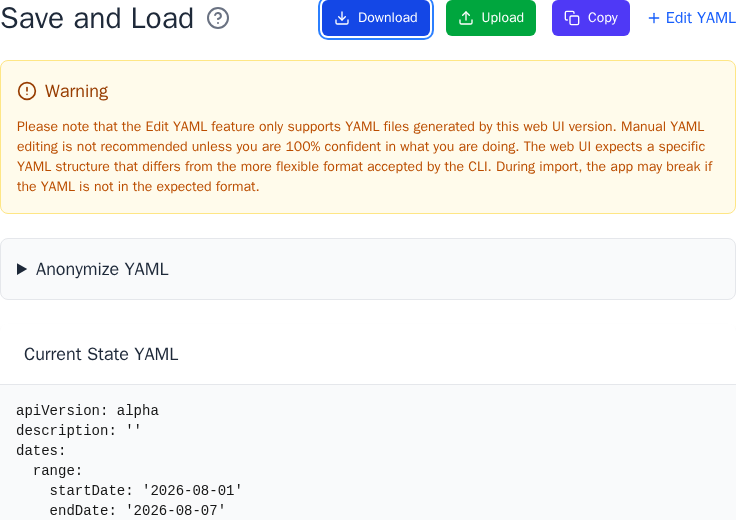
- On Save and Load, select Download.
- Keep the YAML file with the scheduling records for this period.
- To restore it later, select Upload and choose the same file.
Do not edit the YAML by hand unless you understand the web app's expected format.
7. Optimize and download
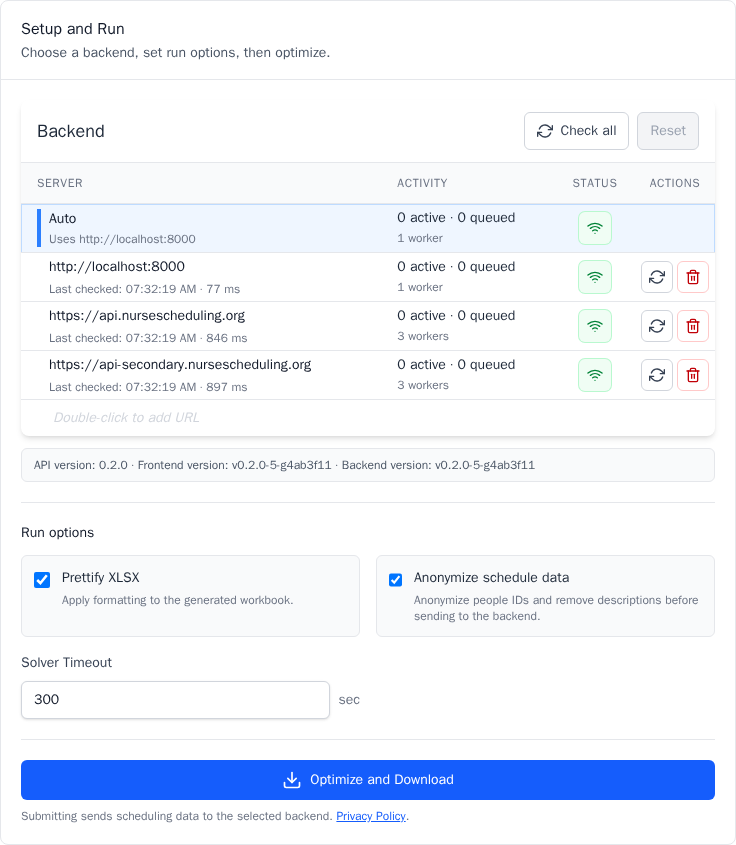
- On Optimize and Export, confirm Server: Online.
- Leave Prettify XLSX and Anonymize schedule data enabled for the first run.
- Keep the default timeout unless the schedule needs more solve time.
- Select Optimize and Download.
The first online compatible server is selected in Auto mode. Submitting sends the schedule to that server. Anonymization applies to the outbound YAML. The downloaded workbook restores the original people IDs.
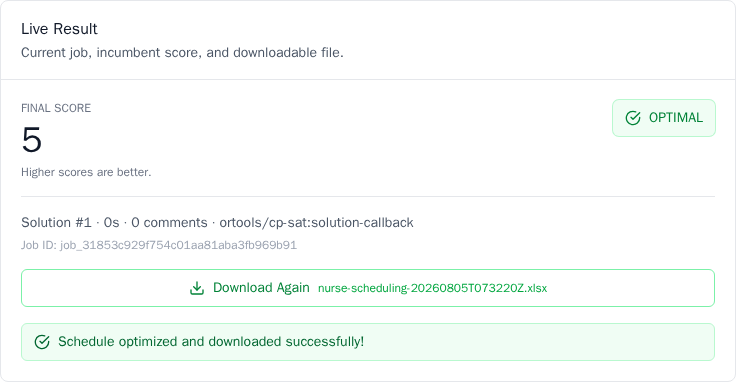
When the run succeeds, the browser downloads an XLSX file. Download Again is available on the result panel while that result remains open.
8. Review the workbook
Open the XLSX and confirm:
- every person and date is present
- each staffed shift has the required coverage
- the individual request from this walkthrough was satisfied or marked
[X]
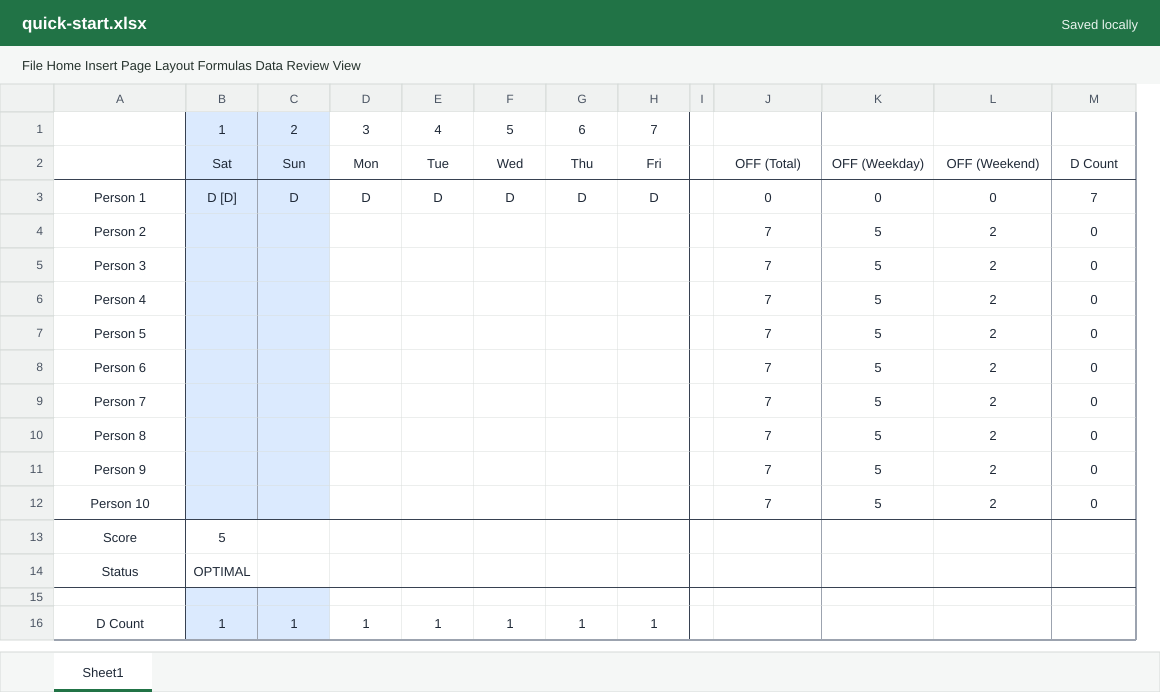
Adjust the rules and optimize again when the result needs improvement. See Interpret the result for cell annotations and summaries.
Next, open the guide for the page you want to refine: